Conversion of a 10x13" (or was it 9" deep? I forgot to measure) tom-tom drum into a 5x13" snare drum.
Original:
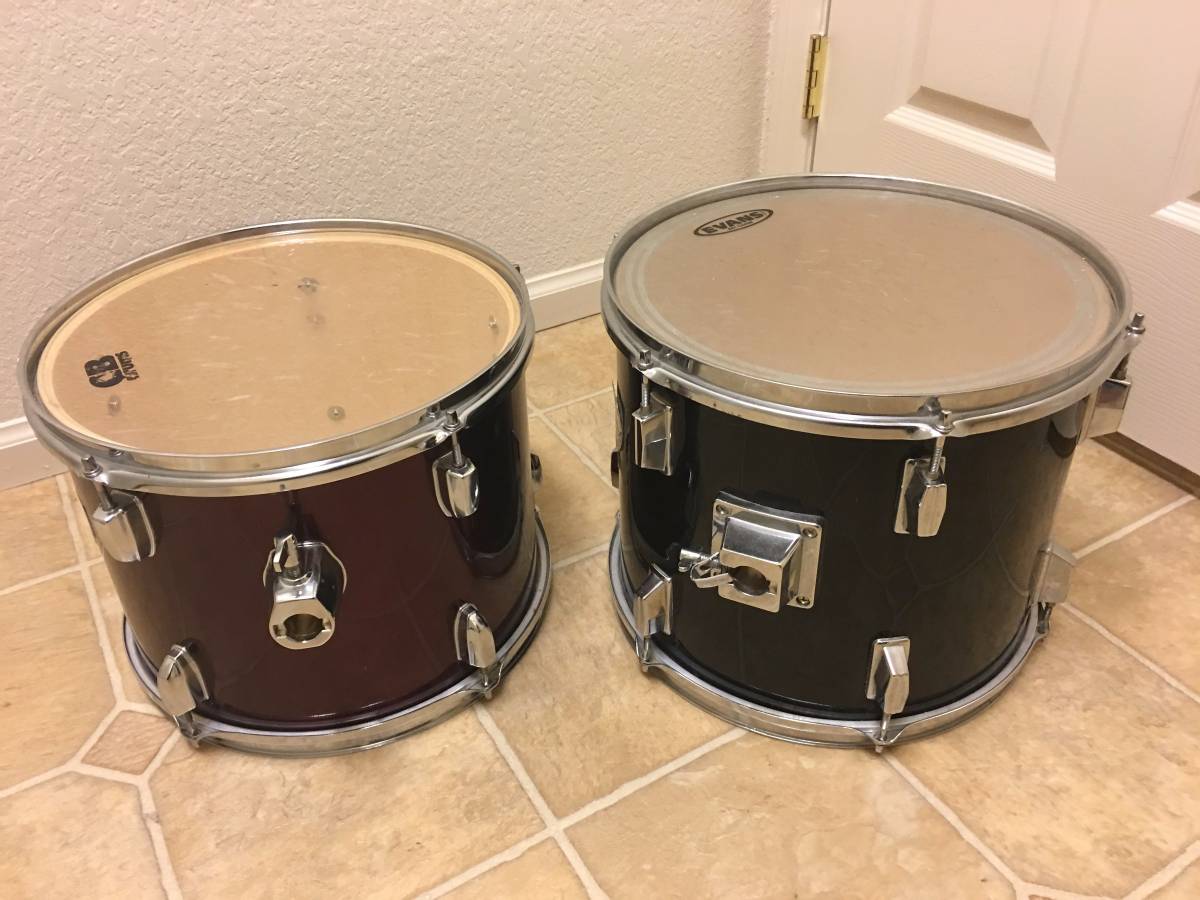
(I bought the black one on the right, $20 off craigslist)
Not pictured: cutting the shell. Attempted to do it with hand-held electric circular saw...horrible results, couldn't hold a line, etc. So instead used a handsaw clamped to boards on the workbench, then, while holding shell against the top of the workbench, worked it up and down the saw blade. (This video was my main guide in utilizing this technique.) Made a nice, straight cut.
Not pictured: shaping the bearing edge on the cut side. Used a half-round rasp, files, and sandpaper. Periodically rotated the edge against a few pieces of sandpaper held to workbench w/double-sided tape to keep the edge true.
Not pictured: laying out positions for additional mounting holees, both for lugs and for snare wire butt/strainer.
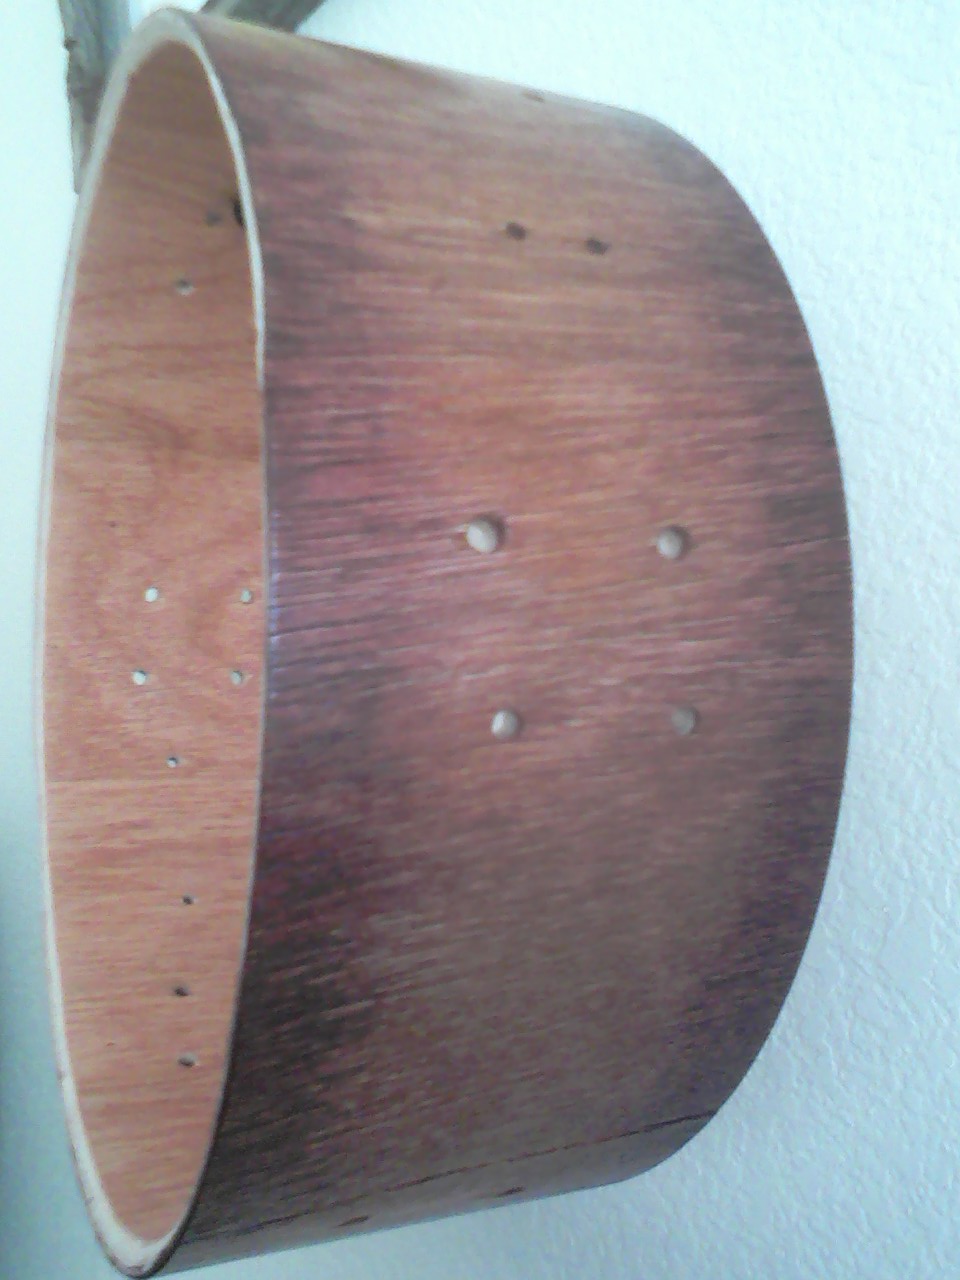
Not pictured: drilling the holes, with a hand-held electric drill(!). It was nerve-wracking to avoid splits (used curved block on inside, tape on outside, drilled from outside->in). And bit wandered a bit, resulting in some holes being sufficiently off such that the lugs wouldn't fit. Small round file to the rescue, cutting away at whatever interior edge needed to be cut until the lug would fit.
Not pictured: to save money, I re-used the rims. Had to cut four holes for the snare wire cord. I know many prefer snare straps, but I figured it would be easier (and leave the rim more stable) to drill holes for a cord than it would be to cut slots for a strap.
Before staining/finishing shell, I dry fit all the parts:
Not pictured: many different combinations of stains and finishes on scrap pieces of wood.
Attempt to do a sunburst-like stain with mahogany and amber colors:
You can see the blend was a bit abrupt at times.
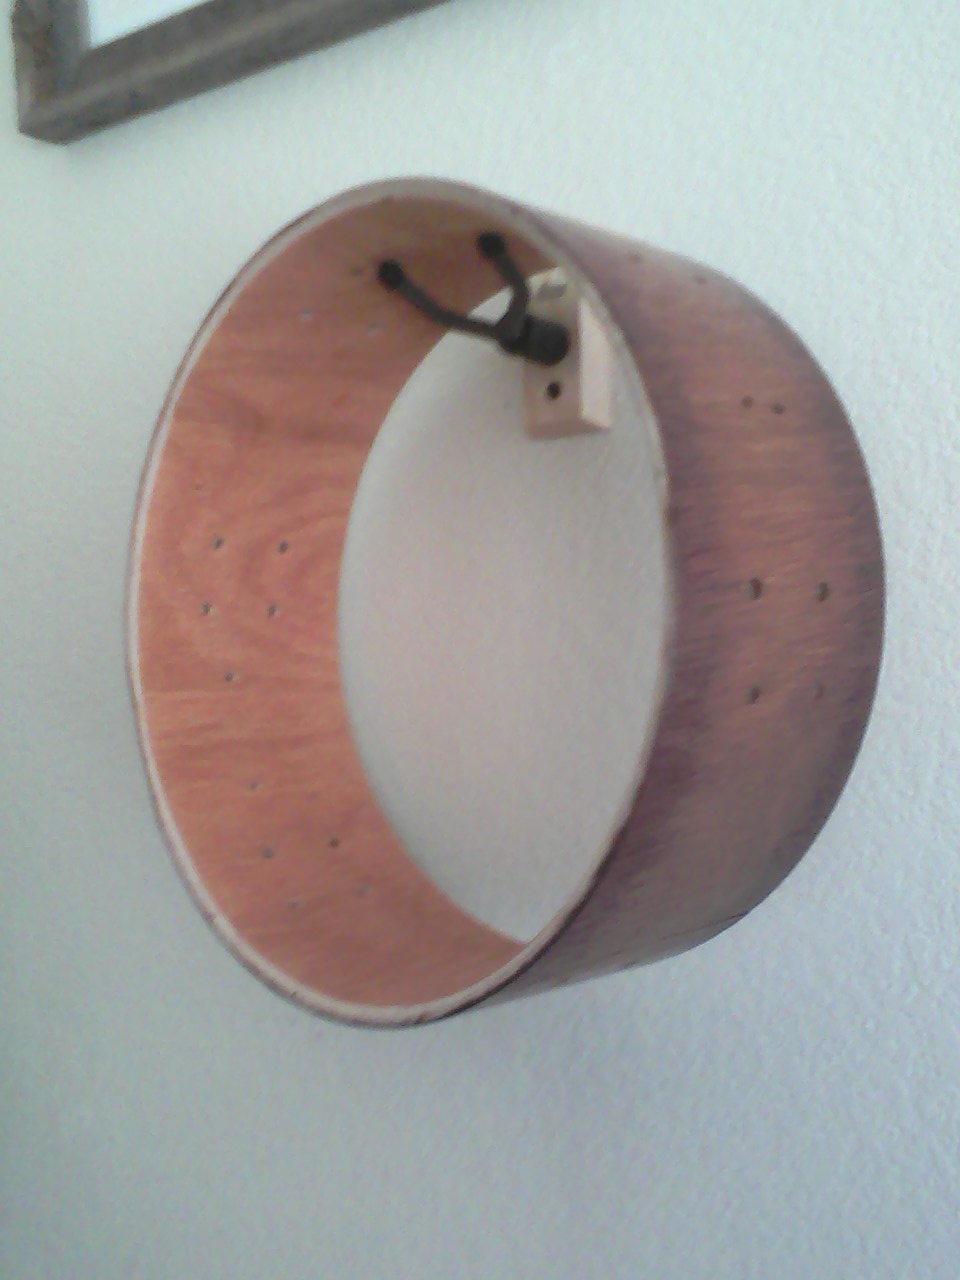
You can also see the reddish, Danish-oil color I stained the inside of the shell:
Not pictured: laying on two coats of polyurethane on the outside of the shell. I didn't seal the wood first. The two thin coats of gloss poly, combined with the open pores, gave it some shine and protection but still kept a satin-like finish -- not too shiny.
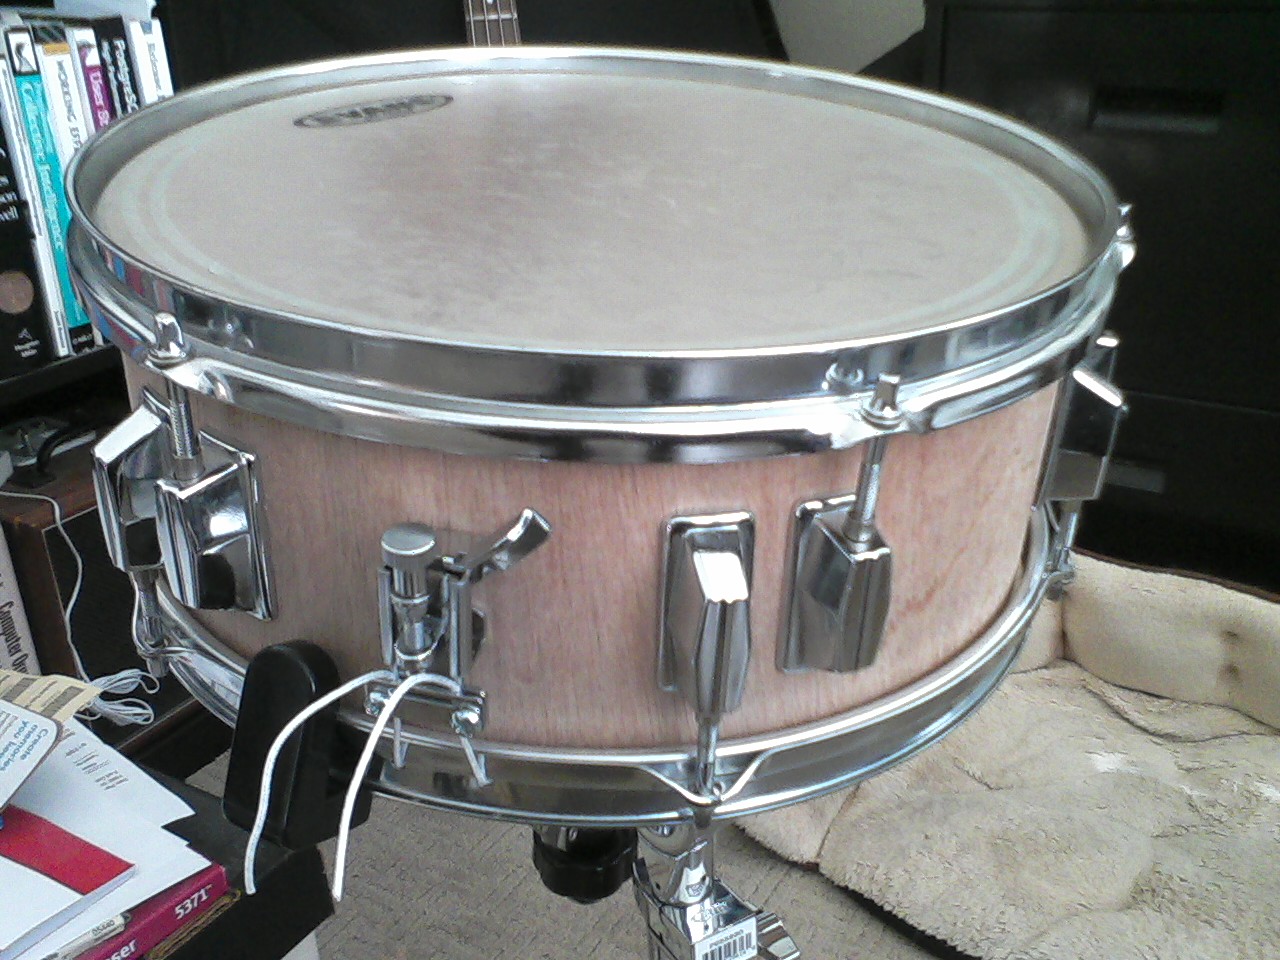
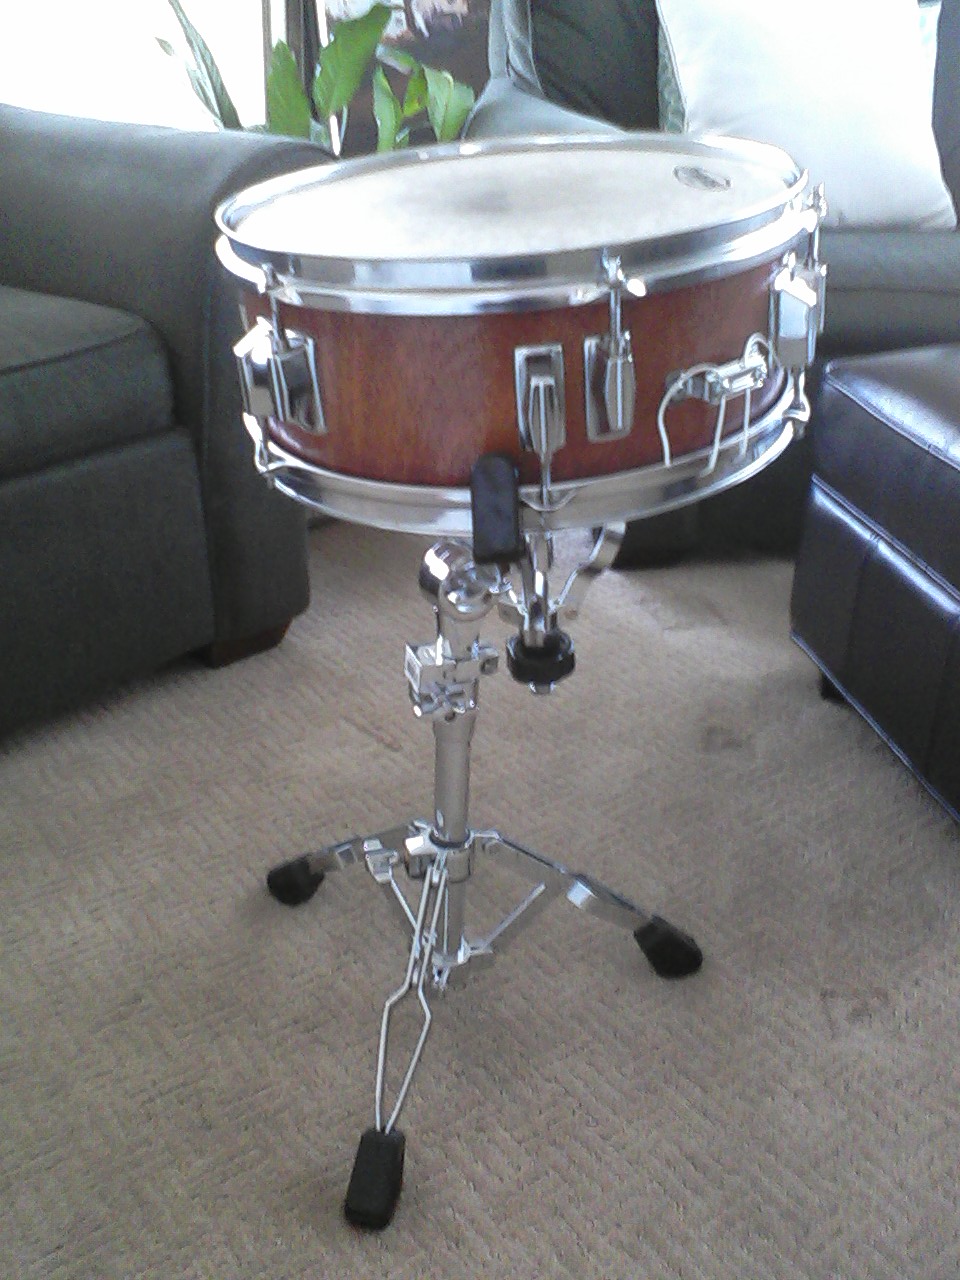
Final assembly:
- Winter, 2017